Sketching Tractors: A Comprehensive Guide
Ever wanted to capture the powerful beauty of a tractor on paper? This guide will take you from basic shapes to detailed, realistic sketches, regardless of your current skill level. We'll cover everything from simple geometric forms to advanced shading techniques and explore various artistic styles. For even more tractor inspiration, check out these tractor wallpapers. Let's get started!
Building Your Tractor: Mastering the Fundamentals of Shape and Proportion
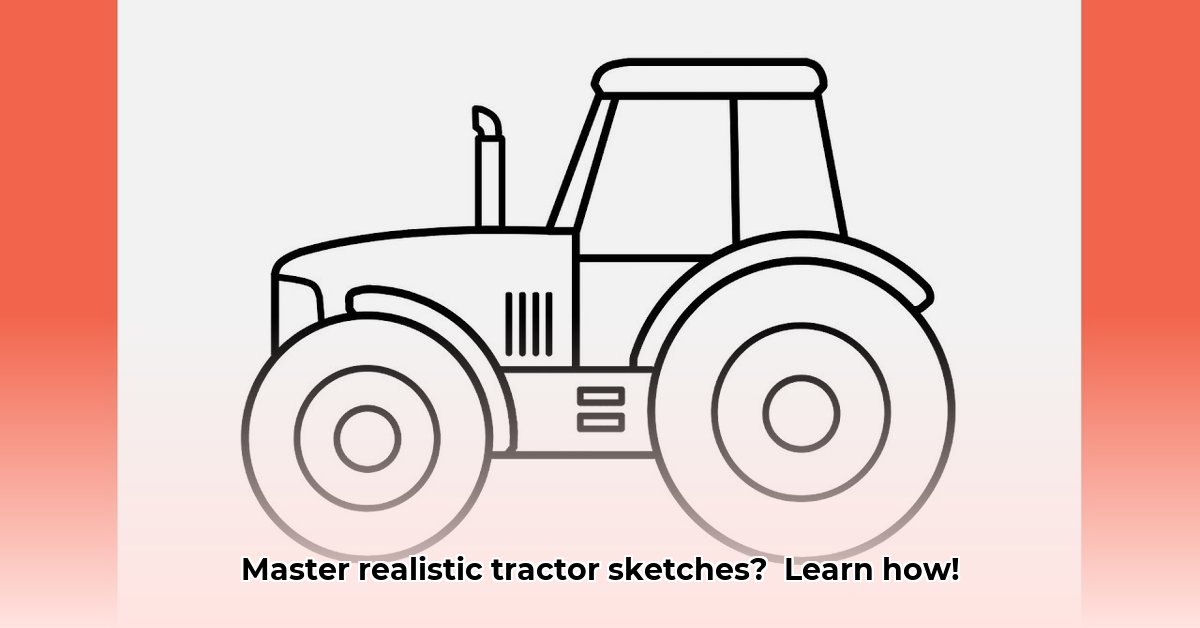
The key to sketching a convincing tractor lies in understanding its underlying shapes. Instead of tackling complex details immediately, think of a tractor as a collection of simple geometric forms. The main body is essentially a large rectangular box, the wheels are cylinders (slightly flattened for realism), and the cab is a smaller box perched atop the main body. Even the engine compartment can be broken down into cylinders and other readily sketched forms. Begin by sketching these basic shapes lightly, focusing on accurate proportions. This foundational step, often overlooked, is crucial for a believable final product. Don't strive for perfection in this initial phase; concentrate on establishing the correct size and relative positioning of the fundamental shapes. This forms your blueprint.
Bringing Your Tractor to Life: Adding Details and Texture
With the foundational shapes in place, it's time to inject realism into your sketch. Observe a real tractor (or a photograph) and focus on the texture of its components. The tires offer an excellent example: varied line weight will convincingly portray their treads. Thicker, darker lines emphasize the grooves, creating a sense of depth and roughness. Conversely, thinner lines highlight smoother areas. This variation in line weight significantly enhances realism and visual intrigue. Apply a similar approach to other details; the engine compartment can gain depth and complexity by suggesting overlapping cylinders, and smaller features such as the exhaust pipe add a functional aesthetic. Each added detail builds upon the foundational shapes, creating a more complete and lifelike representation of your subject.
Finding Your Style: Exploring Artistic Approaches
The beauty of sketching is its versatility. You're not limited to a single style. A photorealistic approach meticulously captures every detail, requiring precise shading to achieve a three-dimensional effect. To create such a representation, focus on subtle shading variations to emphasize curves and suggest depth within the tractor's structure. Alternatively, a cartoonish style simplifies features and exaggerates proportions, leading to a fun and expressive result. This style might include humanizing details—perhaps a smiling tractor face! Or, explore abstract sketching, conveying the essence of a tractor through forms and colors, without strict adherence to realistic representation. Experimentation is key – there are no wrong approaches. Unleash your creativity to see what styles resonate personally with you.
Gathering Your Tools: Essential Equipment
You don't need expensive materials to create compelling sketches. A basic set of pencils—an HB (medium), a 2B (softer, for darker lines), and a 4B (very soft, for rich shading)—is sufficient. A quality eraser, ideally a kneaded eraser for precise corrections, is essential for refining your work without damaging the paper. A pencil sharpener keeps your tools at peak performance. A sketchbook of decent quality is recommended, and a ruler provides optional structural support for your designs.
Step-by-Step Guide: Sketching a Classic Tractor
Let's create a classic tractor sketch. This step-by-step process is a guideline, feel free to adapt it to your style.
Laying the Foundation: Start with basic shapes: a large rectangle for the body, a smaller rectangle for the cab, and two circles for the rear wheels. Observe the proportions carefully.
Refinement: Gently refine these shapes. The body isn't perfectly rectangular – give it subtle curves for realism. Repeat this process for the cab and wheels.
Adding Details: Include wheels with tire treads (using varying line weights), basic engine features (using simple shapes such as cylinders), details such as the seat, steering wheel, and exhaust pipe.
Shading: Use shading techniques to give your tractor three-dimensionality. Observe where light would naturally fall on the tractor, creating lighter and darker areas to provide depth and form.
Final Touches: Erase any unnecessary guidelines, assess your sketch and make final adjustments to lines and details. Your sketch is complete!
Tips and Tricks: Elevating Your Tractor Sketches
Ready to improve? Here's how:
Reference Images: Use real-world tractors as references. Photos online or in-person observations are invaluable.
Consistent Practice: Regular sketching improves your understanding of proportions, shading, and detailed rendering. Make it a consistent habit.
Experimentation: Embrace different techniques and styles to discover your unique artistic voice.
Proportion Focus: Accurate proportions matter more than flawless detail.
Simplify Complex Forms: Break down intricate aspects into simpler shapes before adding fine details.
Your Sketching Toolkit: Essential Supplies
| Item | Description |
|---|---|
| Sketchbook | At least 8.5" x 11" for comfortable drawing |
| Pencils (HB, 2B, 4B) | Varying hardnesses for line weight control |
| Eraser | Kneaded eraser recommended for precision corrections |
| Sharpener | Maintains sharp pencil points |
| Ruler (Optional) | Optional aid for straight lines and accurate measurements |
Remember, drawing is a process. Begin with the fundamentals, practice diligently, and don't hesitate to experiment. Over time, you'll be creating impressive tractor sketches that you'll be proud to display.